Master Crochet Techniques with Wibbly Stitch Videos
- meredithwheelis
- Dec 23, 2025
- 4 min read
Crochet is more than just a hobby; it’s a creative outlet that allows you to express your personality through yarn. Whether you are a beginner or an experienced crocheter, mastering new techniques can elevate your projects and enhance your skills. One such technique that has gained popularity is the Wibbly Stitch. In this blog post, we will explore the Wibbly Stitch, provide video resources for learning, and share tips to help you incorporate this fun stitch into your crochet repertoire.
What is the Wibbly Stitch?
The Wibbly Stitch is a playful and textured crochet stitch that adds a unique flair to your projects. It is characterized by its wavy appearance, which can create a sense of movement and depth in your work. This stitch is perfect for various items, including blankets, scarves, and even clothing.
Why Choose the Wibbly Stitch?
Visual Interest: The wavy texture of the Wibbly Stitch can transform a simple project into something eye-catching.
Versatility: This stitch can be used in various patterns, making it suitable for both casual and formal crochet items.
Fun to Make: The unique technique of the Wibbly Stitch adds an element of fun to your crochet sessions, keeping you engaged and excited about your projects.
Getting Started with the Wibbly Stitch
Before diving into the Wibbly Stitch, it’s essential to gather your materials. Here’s what you’ll need:
Materials Required
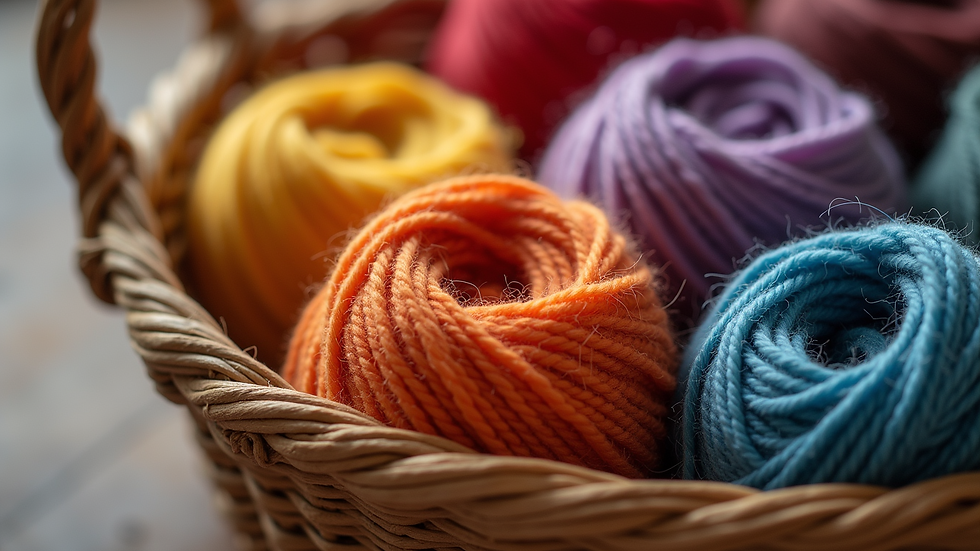
Yarn: Choose a medium-weight yarn for best results. Variegated yarn can add extra visual interest.
Crochet Hook: A size H (5 mm) hook is recommended, but you can adjust based on your yarn choice.
Scissors: For cutting your yarn.
Tapestry Needle: For weaving in ends.
Basic Techniques to Know
Before you start the Wibbly Stitch, ensure you are comfortable with the following basic crochet techniques:
Chain Stitch: The foundation of most crochet projects.
Single Crochet: A fundamental stitch that you will use frequently.
Double Crochet: Another essential stitch that will be incorporated into the Wibbly Stitch.
Learning the Wibbly Stitch
To master the Wibbly Stitch, video tutorials can be incredibly helpful. Here are some recommended resources:
YouTube Tutorials: Search for "Wibbly Stitch crochet tutorial" on YouTube. Many talented crocheters share step-by-step guides that are easy to follow.
Online Crochet Classes: Websites like Craftsy and Udemy offer comprehensive crochet courses that include the Wibbly Stitch.
Social Media: Platforms like Instagram and TikTok have a wealth of short, engaging videos demonstrating the Wibbly Stitch in action.
Step-by-Step Guide to the Wibbly Stitch
Start with a Foundation Chain: Create a chain of your desired length. Remember, the Wibbly Stitch works best with an even number of chains.
Row 1: In the second chain from the hook, make a single crochet. Continue making single crochets across the row.
Row 2: Chain 3 (this counts as your first double crochet). In the next stitch, make a double crochet. Skip one stitch, then make two double crochets in the next stitch. Repeat this pattern across the row.
Row 3: Chain 1 and turn your work. Make a single crochet in the first double crochet from the previous row. In the next space created by the skipped stitch, make a single crochet. Repeat this pattern across the row.
Repeat: Continue alternating between Row 2 and Row 3 until your project reaches the desired length.
Tips for Perfecting the Wibbly Stitch
Practice Tension: Maintaining consistent tension is crucial for achieving the wavy effect. Practice on a swatch before starting your main project.
Choose the Right Yarn: A yarn with a bit of stretch can enhance the wibbly effect. Avoid overly stiff yarns that may not drape well.
Experiment with Colors: Don’t be afraid to mix colors! The Wibbly Stitch looks fantastic with variegated yarns or stripes.
Project Ideas Using the Wibbly Stitch
Now that you have learned the Wibbly Stitch, here are some project ideas to inspire you:
1. Wibbly Stitch Blanket
Create a cozy blanket using the Wibbly Stitch. Choose a color palette that matches your home decor for a beautiful addition to your living space.
2. Wibbly Stitch Scarf
A scarf made with the Wibbly Stitch can be a stylish accessory for chilly days. Use a soft yarn for comfort and warmth.
3. Wibbly Stitch Bag
Craft a unique bag using the Wibbly Stitch. This project can be both functional and fashionable, perfect for carrying your crochet supplies.
Troubleshooting Common Issues
As with any crochet technique, you may encounter challenges while learning the Wibbly Stitch. Here are some common issues and how to resolve them:
Uneven Waves: If your waves are not consistent, check your tension. Practice on a swatch to find a comfortable tension that works for you.
Stitch Count Issues: Always count your stitches at the end of each row. If you find you are off, it’s better to frog (rip out) the row and start again than to continue with an incorrect stitch count.
Difficulty in Understanding Patterns: If you are following a pattern that uses the Wibbly Stitch and find it confusing, don’t hesitate to watch a video tutorial for clarification.
Conclusion
Mastering the Wibbly Stitch can open up a world of creative possibilities in your crochet journey. With the right materials, practice, and resources, you can create stunning projects that showcase your skills. Remember to enjoy the process and let your creativity shine.
Now that you are equipped with the knowledge and resources to tackle the Wibbly Stitch, it’s time to grab your yarn and hook. Happy crocheting!


Comments